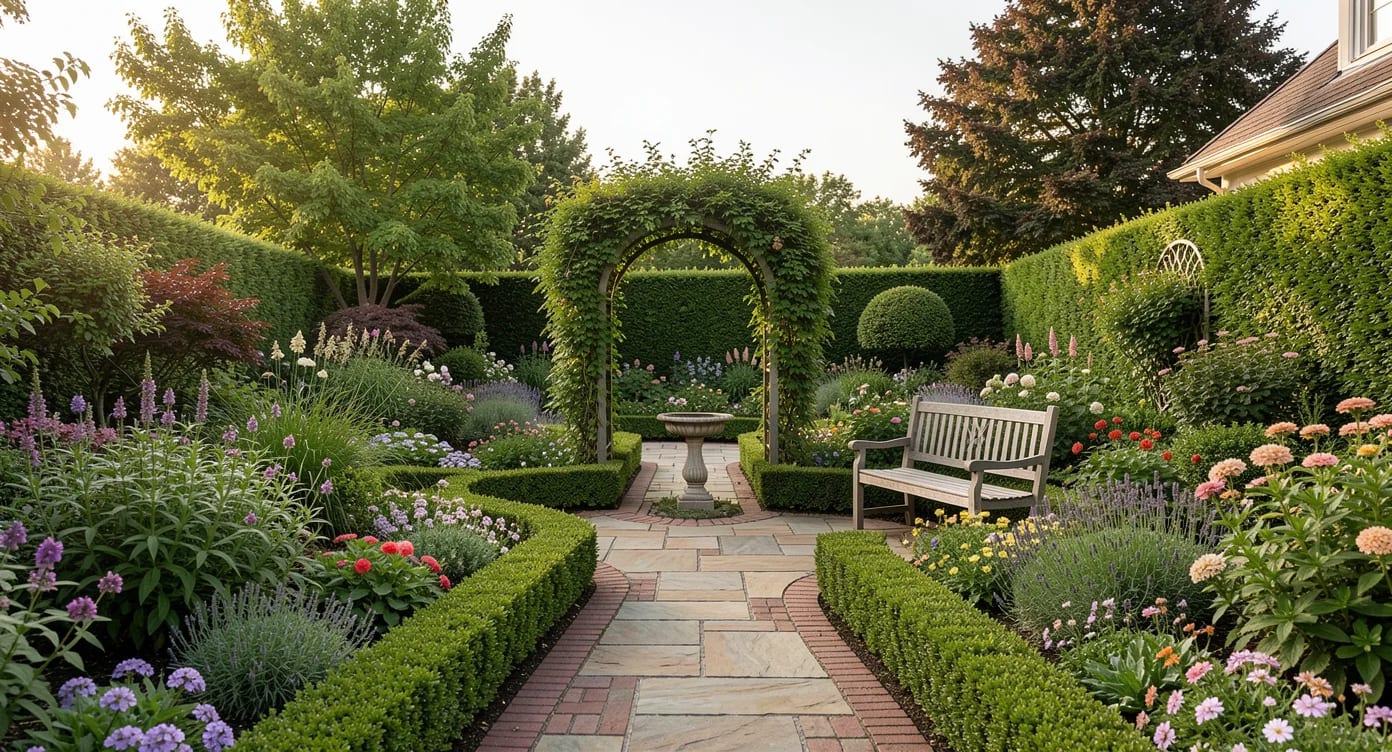
Thoughtful staging can help your Green home make a strong first impression before a buyer ever steps inside. Focus on clean surfaces, natural light, and the features that make your property distinctive—then pair your photos with a pricing strategy grounded in comparable homes.
Start with a plan, not a shopping list
Listing photos are often a buyer’s first introduction to a home, and a little preparation can make each image easier to understand. Before buying pillows or rearranging every room, walk through your Green, Oregon property as if you were seeing it for the first time. Notice what draws your eye, where a room feels crowded, and which features deserve a clearer view.
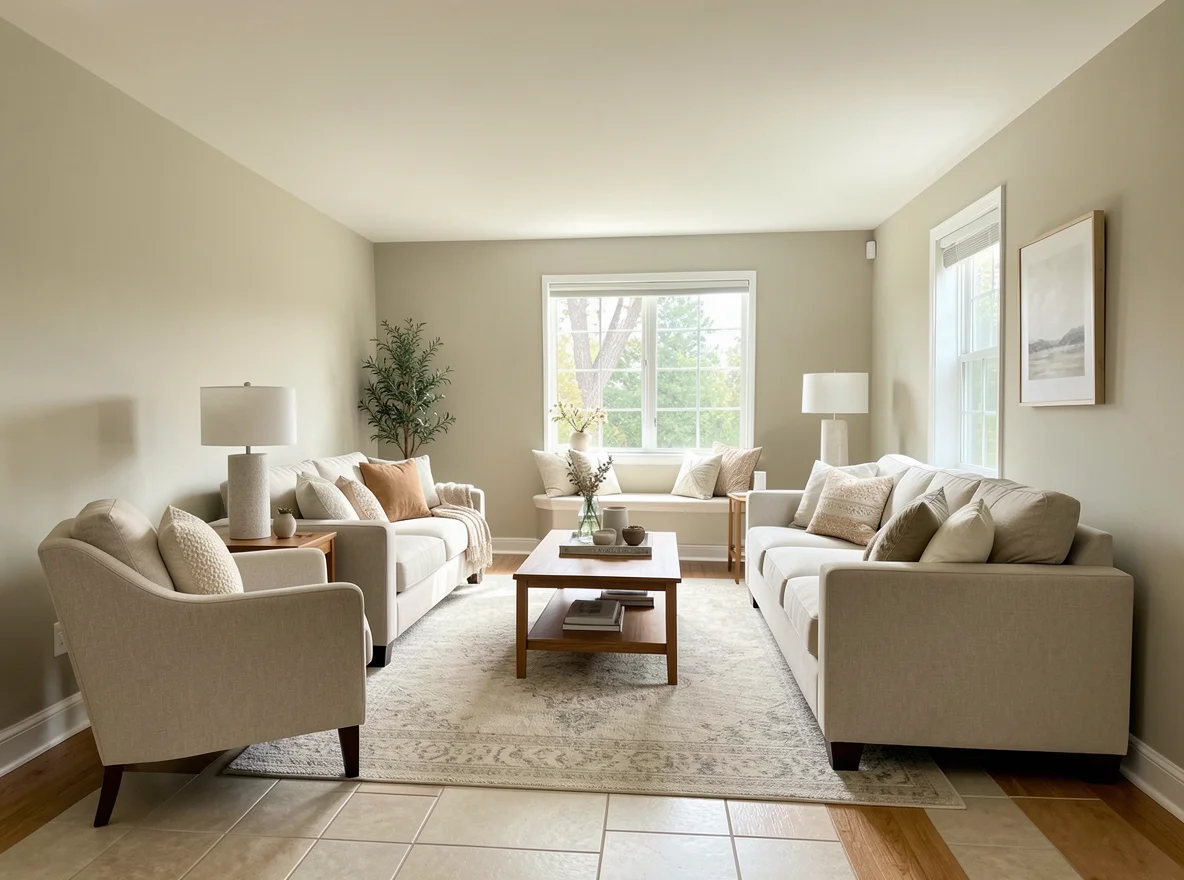
Prioritize spaces buyers typically want to understand quickly: the entry, living area, kitchen, primary bedroom, bathrooms, and outdoor areas. Make a short list of cleaning, repairs, and furniture changes for each. If time or budget is limited, start with the rooms that will be most prominent in the listing rather than spreading your efforts thinly across the entire house.
Good staging doesn’t mean erasing the home’s personality. It means letting the architecture, layout, and usable space take the lead. A comfortable chair beside a window or a simple arrangement on a dining table can make a room feel inviting without distracting from what buyers are there to see.
Before moving furniture, take a few phone photos from each doorway. The camera often reveals crowded corners and distracting objects that are easy to overlook in person.
Clear the view and make room for light
Start by removing excess items from counters, shelves, and floors. Pack away collections, loose paperwork, extra cords, and personal photographs; secure valuables, medications, and sensitive documents before the photographer arrives. Leave enough furniture to show how each space works, but avoid blocking windows, doorways, or the path through a room.
Clean windows, mirrors, and light fixtures, then open blinds and curtains to bring in available daylight. Replace burned-out bulbs and use matching bulb temperatures within a room when possible. Your photographer can decide how to balance indoor and outdoor light, so ask whether lights should be on or off for the shoot rather than assuming one approach works everywhere.
Small maintenance details matter in close-up images. Touch up marked walls, tighten loose cabinet pulls, replace worn caulk where needed, and address visible leaks or damage. These steps are not a substitute for required disclosures or a buyer’s inspection, but they can help your home look cared for and reduce distractions in the photos.
A practical room-by-room reset
- Kitchen: Clear most countertops, put away dish towels and small appliances, and wipe down the sink and backsplash.
- Bathrooms: Store toiletries, clean mirrors, close toilet lids, and set out fresh towels.
- Bedrooms: Make beds neatly, clear nightstands, and keep the floor visible around the furniture.
- Living areas: Straighten cushions, remove excess accessories, and create an unobstructed path through the room.
- Utility spaces: Tidy laundry and storage areas so buyers can see their practical features.
Give the exterior the same attention
The first exterior image can set the tone for the entire listing. A freshly swept walkway, trimmed vegetation, and a clean front door help buyers see the entrance clearly. Move vehicles, bins, hoses, and portable equipment out of view where practical, and check that house numbers and outdoor lighting are in good condition.
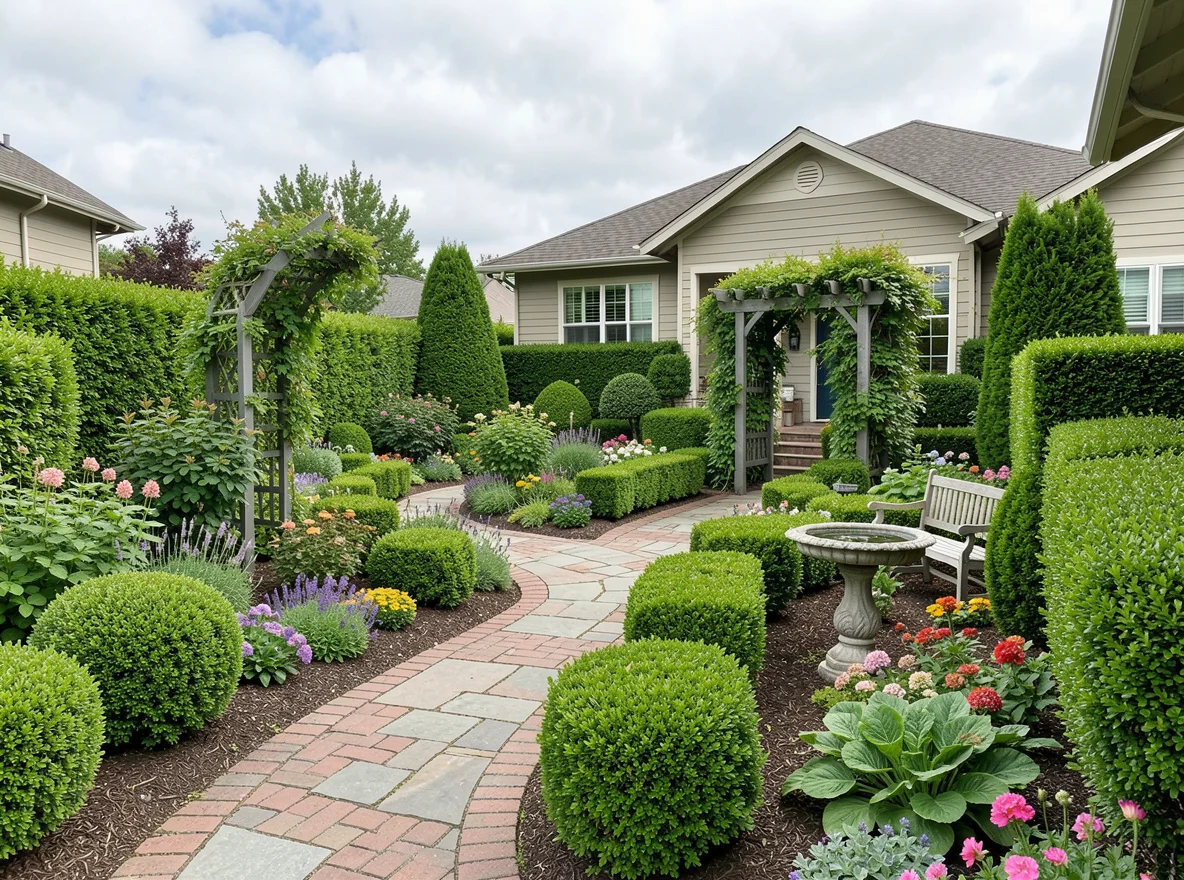
Outdoor spaces deserve their own plan. Arrange patio furniture to show how the area can be used, clear leaves and debris, and put away tools. If your property includes a larger lot, outbuilding, garden, or other distinctive feature, discuss which views will help buyers understand it. Avoid adding decorative items that obscure the actual size or condition of the space.
Weather and light can affect the schedule, so build in a little flexibility for exterior photography. An overcast day can provide soft light, while wet surfaces or recent yard work may call for an adjustment. Ask the photographer about timing and prepare the property in advance so a change in conditions doesn’t leave you scrambling.
For a property with acreage or outbuildings, make a photo list before the shoot. A well-chosen view should help buyers understand the land and improvements, not just the front of the house.
Keep every image accurate. Editing can correct brightness and color, but removing permanent features, concealing damage, or presenting a digitally altered room without appropriate disclosure can mislead buyers. If virtual staging is used, make sure it is clearly identified and does not suggest that furniture or improvements are included in the sale.
Connect presentation to pricing
Strong photos encourage buyers to take a closer look, but staging alone cannot determine market value. Before choosing an asking price, review recent comparable sales along with competing and pending listings, accounting for differences in location, condition, size, land, and features. The most useful comparisons are those that reflect what buyers have recently considered as alternatives to your property.
It also helps to weigh preparation costs against your likely return. A thorough cleaning and minor repairs may be worthwhile, while a major renovation may not fit your timeline or budget. Discuss proposed improvements with a real estate professional before committing to a project, and consider getting contractor estimates when the scope is uncertain. There is no guarantee that a particular staging expense will be recovered in the sale price.
Make photo day easier
Once the shoot is scheduled, complete the deep cleaning and larger furniture moves beforehand. On the day itself, do a final walk-through: straighten bedding, empty wastebaskets, clear sinks, put away pet supplies, and check the exterior. Plan where occupants and pets will be during photography so the photographer has room to work without interruptions.
Ask your photographer or broker about the planned sequence of images and any property features that need special attention. If a room serves more than one purpose, a simple arrangement can make its current use clear. Keep closets, garages, and storage areas reasonably organized too; even if they are not photographed, buyers may want to see them during showings.
Preparing your Green home is about making its real strengths easy to see—not making it look like a different property. With a practical checklist, honest photography, and a pricing conversation based on current comparisons, you can approach the listing process with a clearer plan and a home ready for its introduction to buyers.